Overview
Cypress is a modern testing tool built for web applications. It’s designed to make it easier to write end-to-end (E2E) tests by allowing you to interact with and verify functionality directly in a browser. In this blog, we’ll cover how to set up Cypress with React using Vite, create end-to-end test flows, and explore how Cypress can streamline testing, saving valuable development time.
Prerequisites
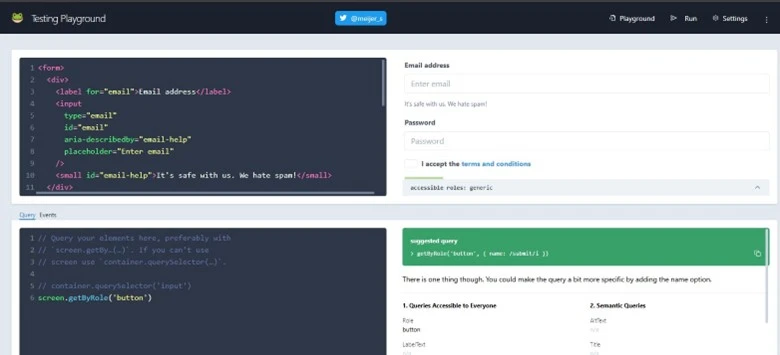
Before we begin, you should be familiar with React.js and know how to set up a React project with Vite. We’ll be using a prebuilt signup form to demonstrate Cypress testing. Additionally, installing the Testing Playground Chrome extension will enhance the experience by helping you select and inspect elements.
Why Choose Cypress?
Cypress offers several powerful, out-of-the-box features that make it ideal for E2E testing, including:
- Snapshot Testing: Cypress takes snapshots as your tests run, helping you see exactly what happened at each step.
- Automatic Waiting: Cypress automatically waits for elements to appear and for network requests to complete, eliminating the need to add waits or delays in tests.
- Cross-Browser Support: Run tests in multiple browsers, including Firefox and Chrome.
- Network Traffic Control: Control and inspect network requests directly within tests.
- Visual Coverage: Visualize code coverage to ensure tests are comprehensive.
Creating Your First E2E Test with Cypress
Let’s walk through the steps to set up and create your first end-to-end test.
Step 1: Install the Testing Playground Extension (Optional)

Testing Playground is a Chrome extension that makes it easier to inspect and select UI elements like buttons and input fields. This can be helpful for accurate element selection when writing test cases.
Step 2: Install Cypress in Your Project
To install Cypress, run the following command:
npm install cypress --save-devNext, install the Cypress Testing Library, which allows you to use powerful selector functions:
npm install --save-dev @testing-library/cypressStep 3: Add the Testing Library to Cypress
In cypress/support/commands.js, add the following line to enable Testing Library methods:
import '@testing-library/cypress/add-commands';This addition allows you to use methods like findByRole and findByText, making it easier to select and interact with elements
Step 4: Run the React Project and Cypress
First, start your React project using Vite:
npm run devIn a new terminal, open Cypress with the following command:
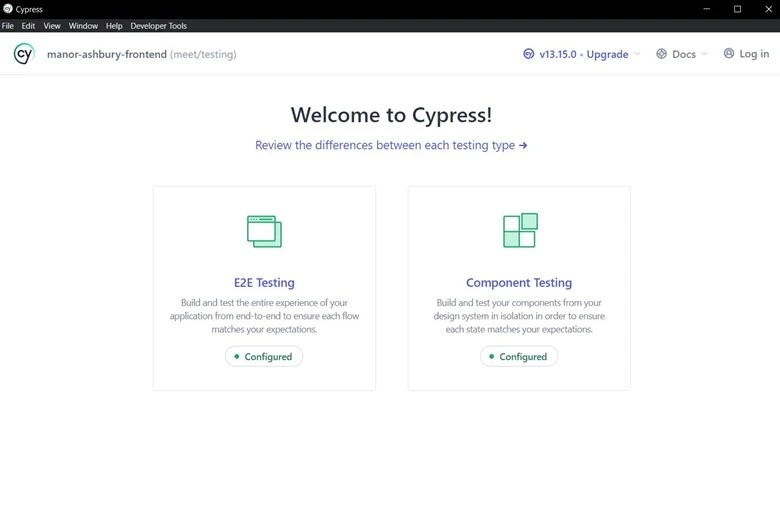
npx cypress openCypress will open in a new window where you can configure E2E testing and select a browser to run the tests.

Step 5: Set Up the E2E Folder and Files in Cypress
Inside the Cypress e2e folder, create a new file for your test cases. For example:
cypress/e2e/registerButton.cy.js
Step 6: Write Your First Test Case
Now, let’s write a test case that verifies the signup process using the following code:
// cypress/e2e/registerButton.cy.js

describe("Register Button Test", () => {
  it("should find and click the register button", () => {
    // Set the viewport size for consistent testing
    cy.viewport(1024, 768);
    // Visit the application URL
    cy.visit("http://localhost:5173");

    // Locate and click the "Register" link
    cy.findByRole("link", { name: /no account\? register here/i }).click();
    // Fill in the signup form fields
    cy.get("#email").type("user@example.com");
    cy.get("#bookingReference").type("69415");
    cy.get("#password").type("Admin@123");
    cy.get("#confirmPassword").type("Admin@123");
    cy.get("#remember").click();
    // Submit the registration form
    cy.findByRole("button", { name: /register/i }).click();
  });
});
Explanation of Key Commands:
- cy.visit(): Opens the specified URL in the Cypress browser.
- cy.findByRole(): Finds an element by its role, such as a button or link, improving accessibility and accuracy.
- cy.get(): Finds an element by its selector, like an ID, for precise selection.
- cy.viewport(): Sets the browser’s viewport dimensions, ensuring tests run consistently across different devices.
Step 7: Run the Cypress Test
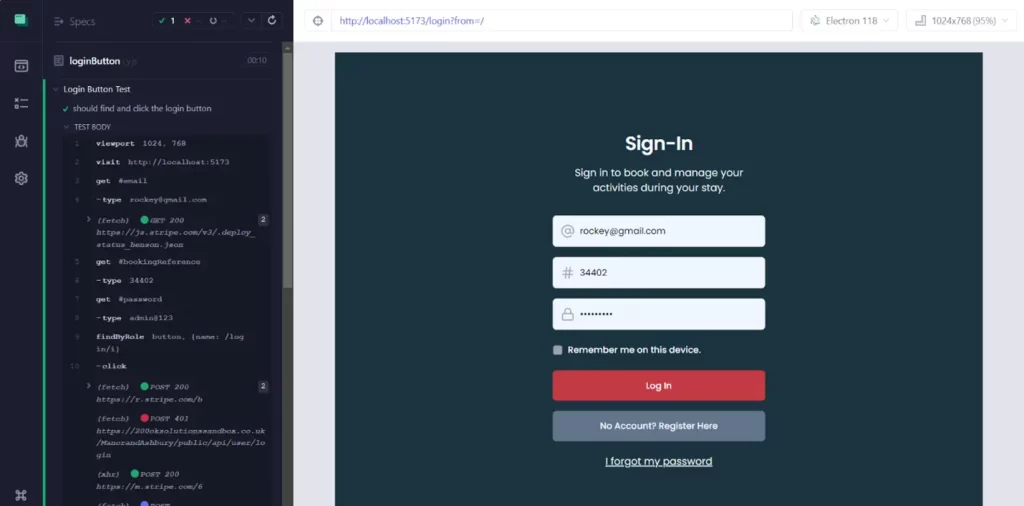
In the Cypress window, select the E2E testing option and choose a browser. In this guide, we’ll use Electron, but you can also test in Chrome, Firefox, or others.
Cypress will now run your test in the selected browser, showing step-by-step actions and any issues encountered along the way.

Conclusion
By following these steps, you can set up Cypress for E2E testing in your React + Vite project. Cypress simplifies and speeds up testing by providing built-in tools like automatic waiting, cross-browser support, and visual snapshots. With Cypress, you can create robust and reliable E2E tests that save time and catch issues before they make it to production. Happy testing!

