In this blog, we’ll walk through the process of creating a static website using Gatsby.js and
deploying it on Netlify. Gatsby is an open-source framework that combines the power of
React, GraphQL, and Webpack to create lightning-fast, static websites with an excellent
developer experience.
Prerequisites
Before diving into Gatsby.js, ensure you have the following prerequisites:
- A good understanding of HTML, CSS, JavaScript, and React.
- Node.js (version 18 or newer) installed on your machine.
- Gatsby CLI
Installing Gatsby Locally
Let’s start by installing Gatsby.js on your local machine. The process is straightforward; you
can use the following command:
npm install -g gatsby-cli
To check if Gatsby is installed correctly, run the following command, and make sure you
have version 3 or newer:
gatsby –version
Creating a New Gatsby Project
With Gatsby installed, you can create a new Gatsby project using the following command:
gatsby new my-first-gatsby-site
Provide project details as prompted. Once your project is created, navigate to the project
directory:
cd my-first-gatsby-site
Now, you can start the local development server with the following command:
npm run develop
Your Gatsby site will be accessible at http://localhost:8000/
Creating Static Pages
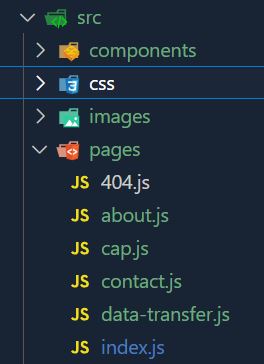
Creating pages in Gatsby is a breeze. You just need to create a file in the src/pages
directory, and Gatsby will automatically recognize it. For instance, to create an “About” page,
you can create a file named about.js.
In these files, you can use any pre-built HTML and CSS templates and add your content.
Gatsby will handle routing and page generation for you.
Deploying to Netlify

Now that your Gatsby site is up and running locally, it’s time to deploy it to the world. Netlify
provides a straightforward process for hosting static websites.
Here’s what you need to do:
- Create a Netlify Account: If you don’t already have one, sign up for a Netlify account.
- Build Your Gatsby Project: In your code editor and terminal, navigate to your Gatsby
project directory and run the build command:
npm run build
This command will generate apublicfolder in your project directory. - Deploy to Netlify:
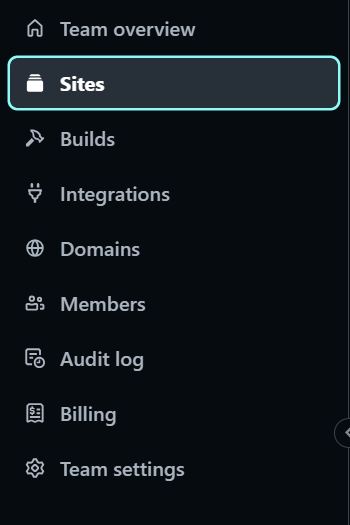
- Go to the Netlify website.
- In the “Sites” menu, you’ll find an option that says, “Want to deploy a new site without
connecting to Git? Drag and drop your site output folder here.” - Drag and drop the
publicfolder from your Gatsby project. - Wait for Deployment: Netlify will begin the deployment process. It will build your site
and host it. - Site is Live: After successful deployment, you’ll receive a unique URL. Your Gatsby
static site is now live and accessible to the world.
Congratulations, you’ve successfully built and deployed a Gatsby.js static site on Netlify in
just a few steps. Your website is now live and ready for visitors!
Happy coding and deploying!