SharePoint Server Subscription Edition is the next step in the SharePoint Server journey, focusing on the needs of on-premises customers. It introduces new features to help simplify management, enhance your security posture, and expedite your upgrade from previous versions of SharePoint Server.
Steps to Install SharePoint Subscription Server Edition
Prerequisite
- Prepare three virtual machines to install two front-end servers with distributed cache and one application server with a search for SharePoint Subscription Server.
- Assign static IPs to all three VMs, making them reachable from another VM using their IP address or nam.
- Ensure that the latest Windows updates are installed on all virtual machines.
- Prepare three users for the installation process: the SQL Server service account, the Farm administrator user account, and the Farm service account.
- Make sure these three users are local administrators on all the above three VMs.
- Download the SharePoint Server Subscription Edition ISO file on all VMs from the Microsoft site.
- Set up another virtual machine where SQL Server Management Studio 2019 should be installed and configured following Microsoft SQL Server installation guidelines.
- Ensure that the machine where SQL Server Management Studio is installed can be reached from another VM where other servers are going to be installed.
- The SQL Server service account should have dbcreator and securityadmin server roles on the SQL Server.
Virtual Machines
- SP-App: This will be the application with the search service role server.
- SP-WFE-1: This will be the Windows Front End with the Distributed Cache service role server.
- SP-WFE-2: This will be another Front End with a Distributed Cache service role server.
- SQL-Server: This will be a database server where SQL Server 2019 is installed.
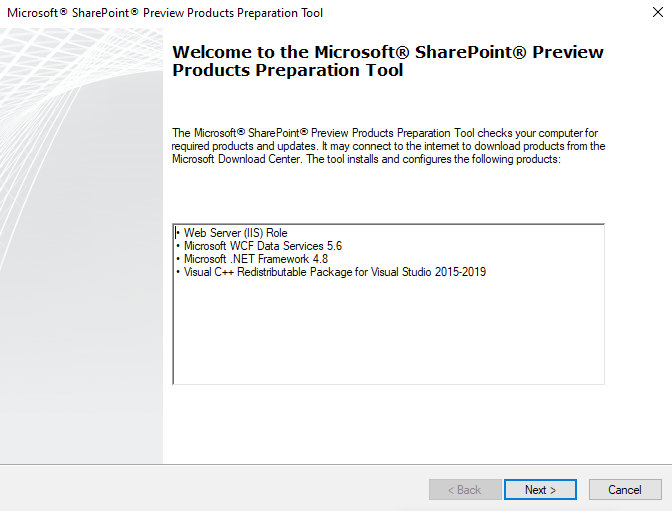
1. Run the Microsoft SharePoint Products Preparation Tool
- Load the SharePoint Server Subscription Edition ISO into the SP-App (Application with Search server).
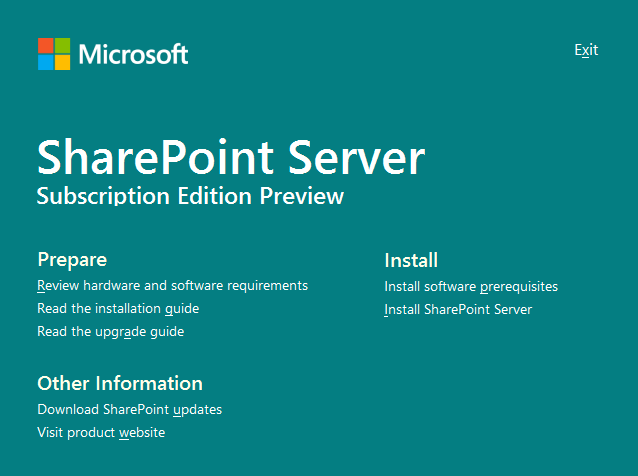
- In the SharePoint Server installation disc image software, mount the ISO file, and click the splash.hta file. The SharePoint Server splash screen is displayed.
- Click on “Install software prerequisites.”

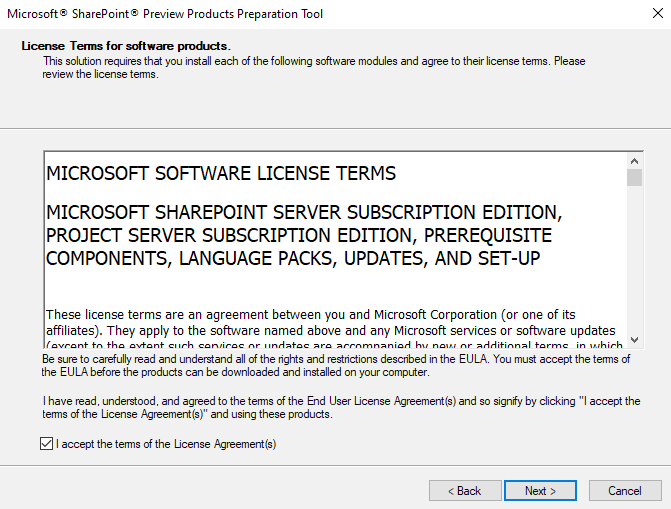
- Note: An internet connection is required for this step as it will download and install some files to the VM.
- Accept the terms and click next.
- If you encounter an error where the tool is unable to install everything, follow the instructions here to resolve it.
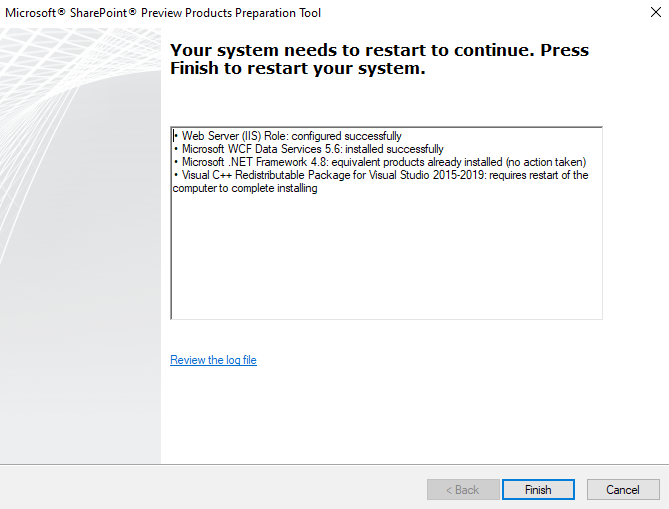
- Wait a few minutes while the setup configures the environment.
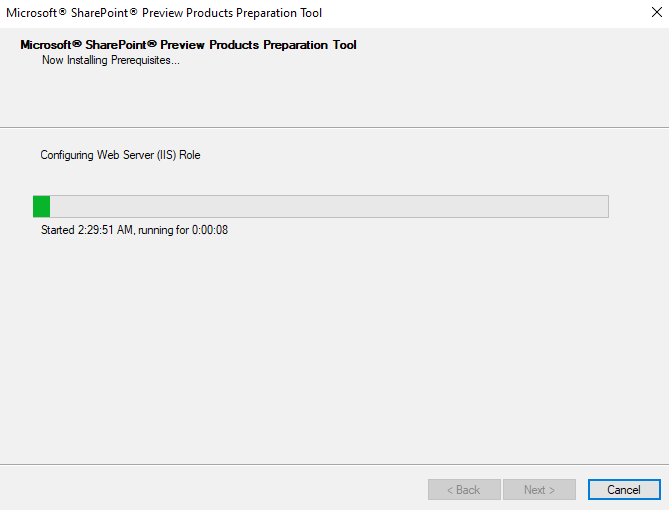
- Once the process ends, click Finish and restart the server.
2. Run Setup
- Return to the installation wizard and click on “Install SharePoint Server.”
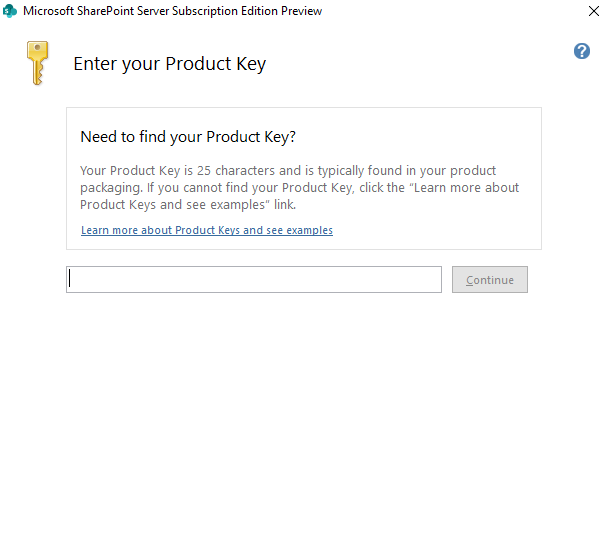
- Enter your SharePoint Server Subscription Edition product key.
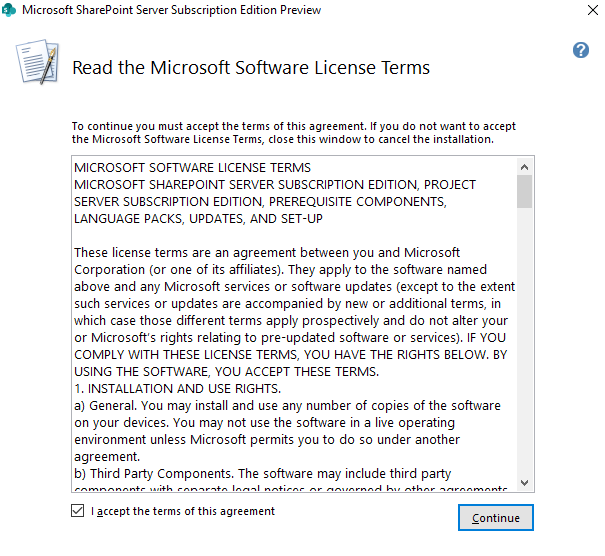
- Accept the Software License Terms.
- Choose the location for the files and click “Install Now.”
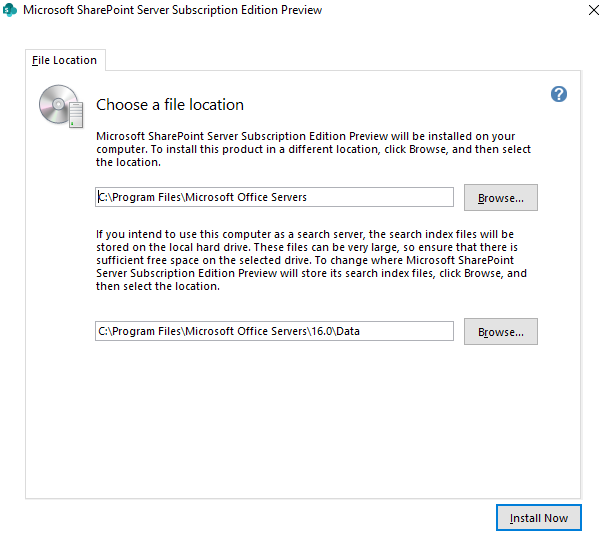
- Note: It is recommended to use a separate drive to install SharePoint Server, apart from System Drive C, to facilitate locating any failures.
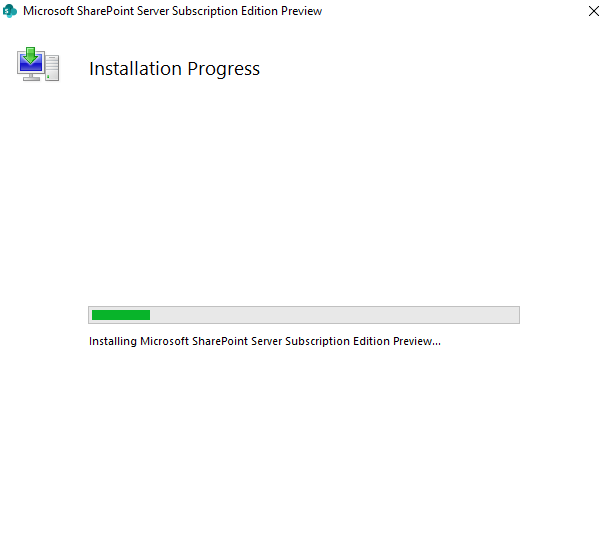
- The installation will take a while to complete.
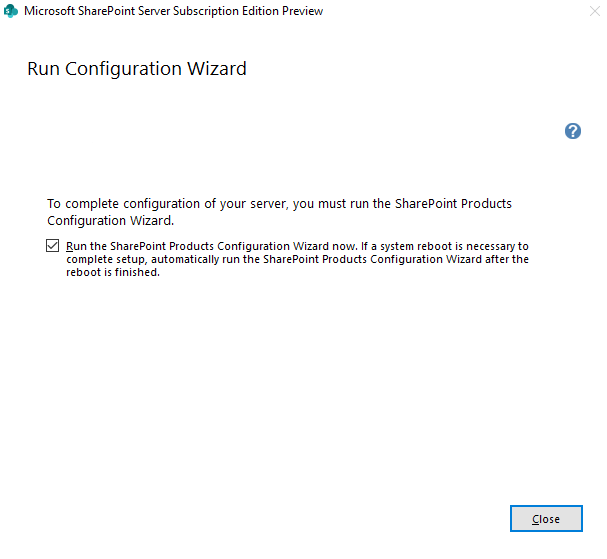
- Click on Close, and the SharePoint Configuration Wizard will open after a system reboot.
- Note: Follow steps 1 and 2 for the other two front-end servers.
3. Run the SharePoint Products Configuration Wizard
Note: Before proceeding with this step, ensure that your Database server is running and reachable by its name. Also, keep the SQL Server service account credentials handy.
Use the following procedure to install and configure the configuration database and the content database and to install the SharePoint Central Administration website.
- If you have closed the SharePoint Products Configuration Wizard, you can access it by clicking Start → All Apps → Microsoft SharePoint Products → SharePoint Products Configuration Wizard. If the User Account Control dialog appears, click Continue.
- On the “Welcome to SharePoint Products” page, click Next.
- In the dialogue that notifies you that some services might have to be restarted during configuration, click Yes.
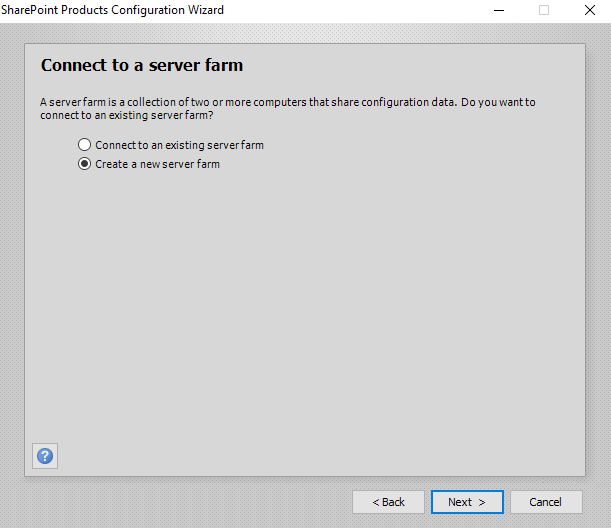
- On the “Connect to a server farm” page, click “Create a new server farm,” and then click Next.
- Setup the Database Details
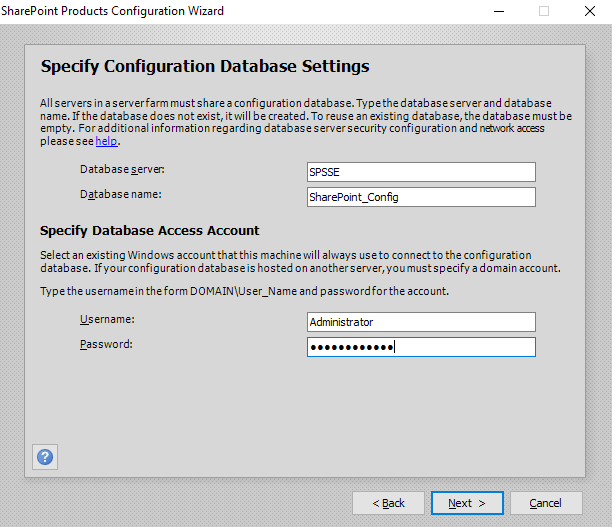
- Setup a Passphrase
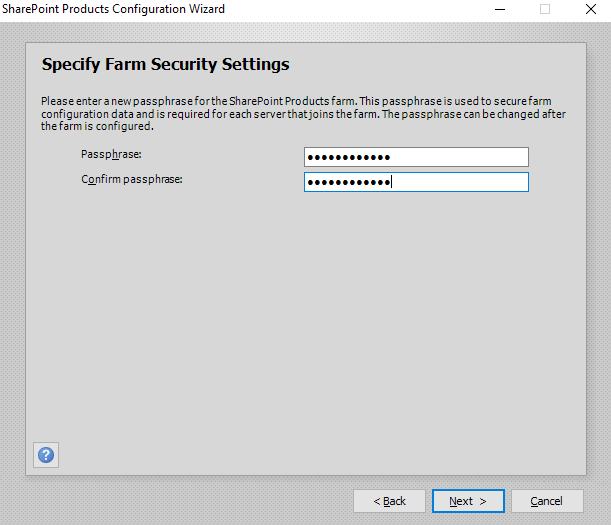
- Note: This Passphrase will be useful later to add or remove any server role from the farm.
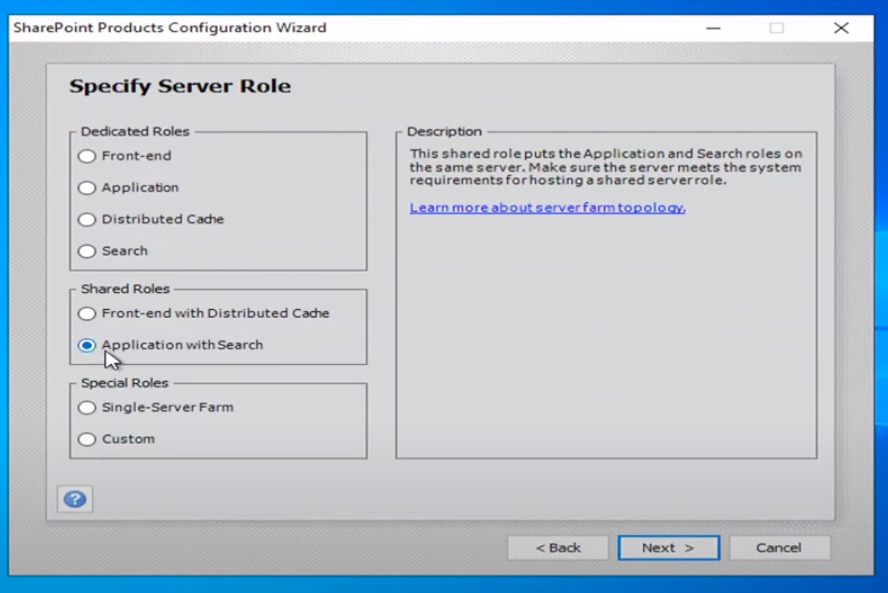
- Select the “Application with Search” role.
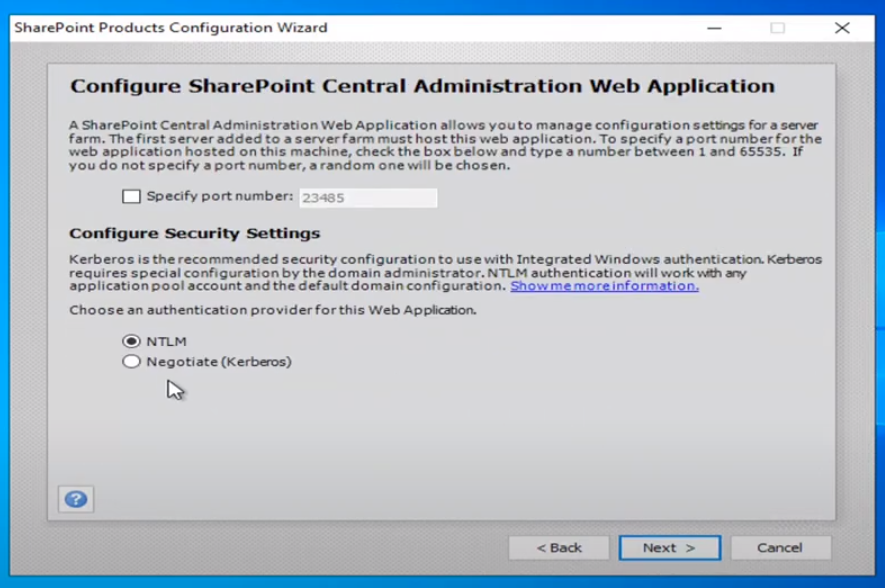
- Specify the port number for the central administration.
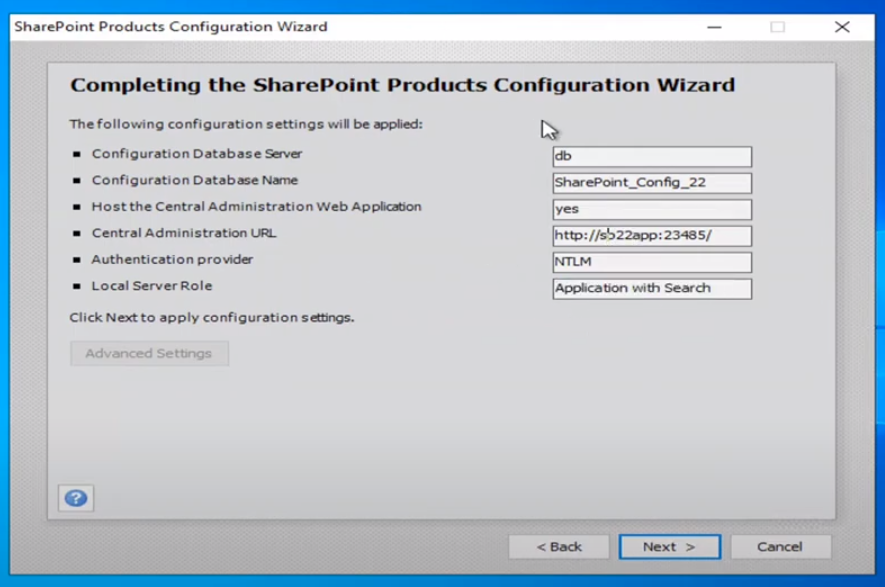
- Confirm all the settings are correct and click Next.
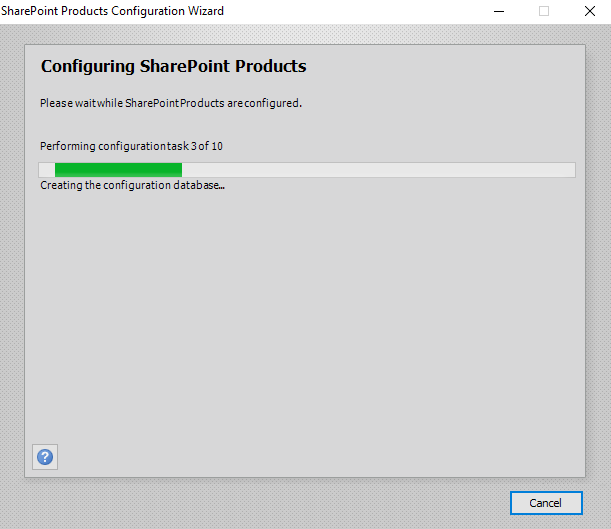
- The configuration wizard will now configure the SharePoint products.
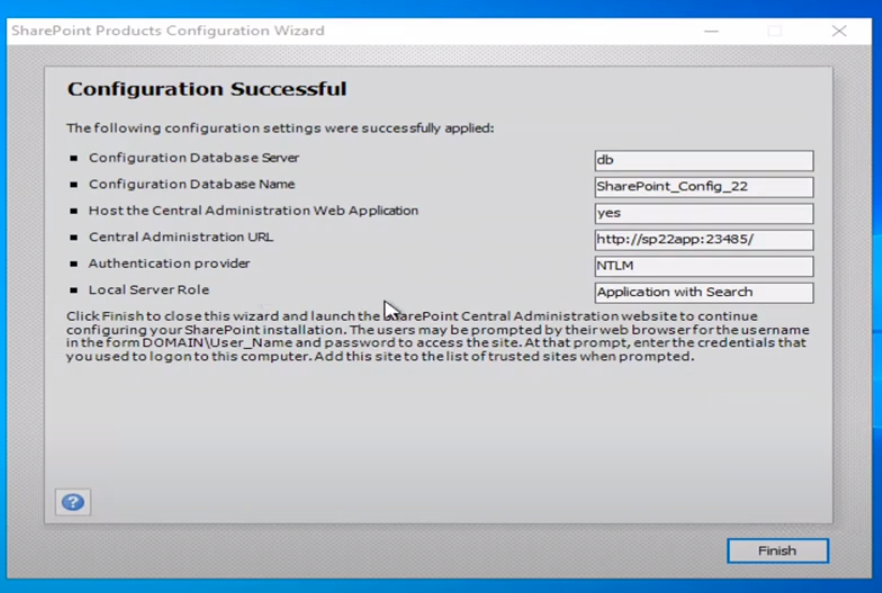
- Click on Finish.
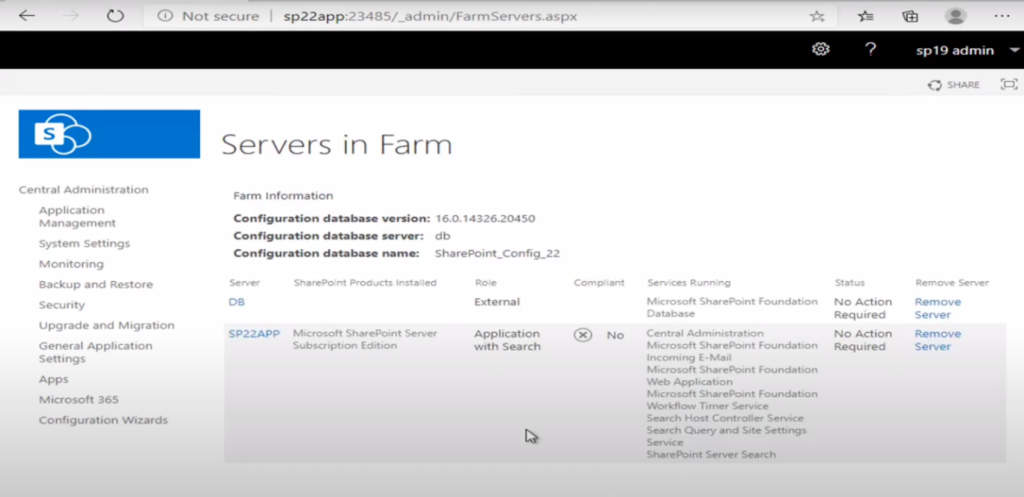
- Log into the Central Administration.
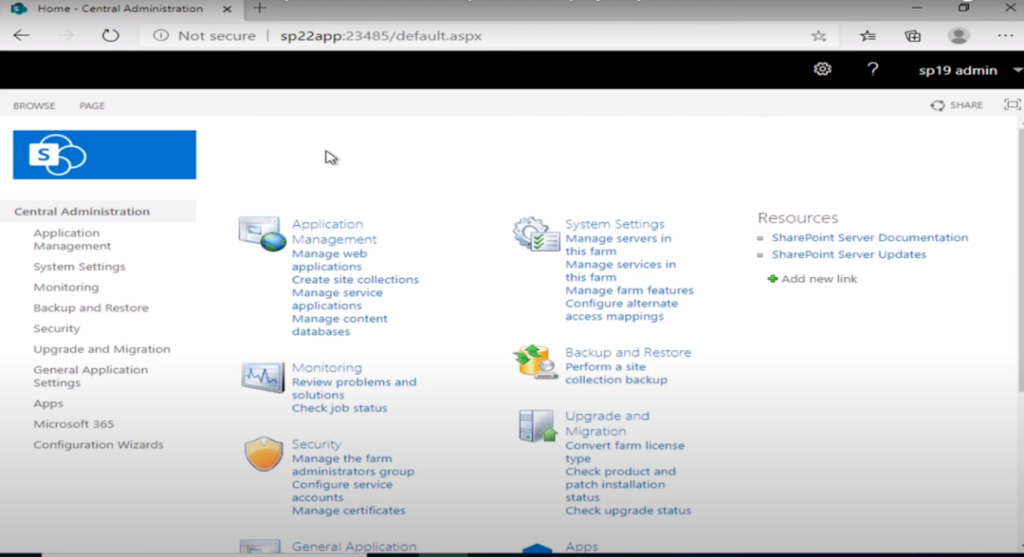
- Go to “Servers in Farm” to verify that “Application with Search” and Database Servers are connected to the Farm.
- Note: Now repeat Step 3 – Run the SharePoint Products Configuration Wizard for both front-end servers.
Some changes are listed below:
- Select “Connect to an existing server farm” instead of “Create a new farm.”
- In the “Setup a Passphrase” section, enter the passphrase specified while creating a new farm.
- On the next screen, instead of selecting “Application with Search,” choose “Front-end with Distributed Cache” on the Specify Server Role screen.
- Once Step 3 is completed for both front-end servers, return to the application server and check the “Servers in Farm” from Central Administration.
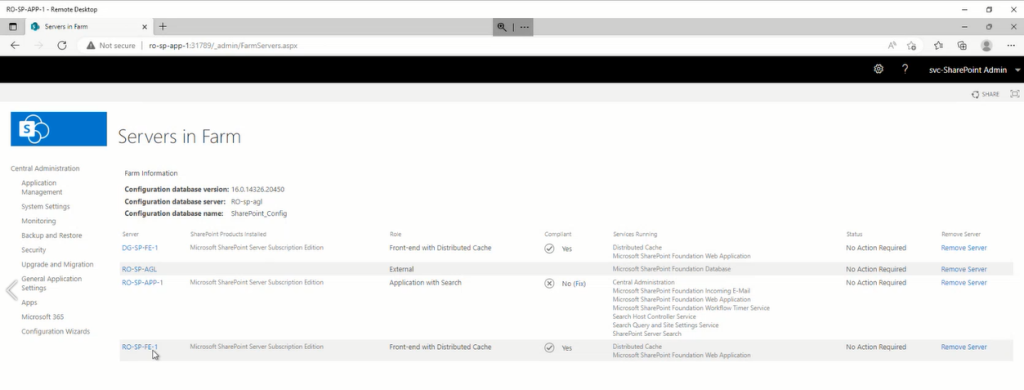
- This would be the final screen once all the servers are available on the farm.
- Now you can configure services in the farm as needed and configure other farm-related settings from the Central Admin page.