
Introduction:
Native modules allow JavaScript and platform-native code to communicate over the React Native “bridge”. Turbo Modules are the next iteration of Native Modules that address the asynchronous and loading problems by lazy loading modules, allowing for faster app startup. Turbo Native Module also provides some advantages:
- Lazy loading of modules, allowing for faster app startup
- Codegen resolves the type safety concern by generating a JavaScript interface at build time.
- JSI, a JavaScript interface for native code allows for more efficient communication between native and JavaScript code than the bridge.
Creating a new application for resize image
- npx react-native init TurboModuleSample –version 0.72.7
- We will create a resize image module using turbo native module.
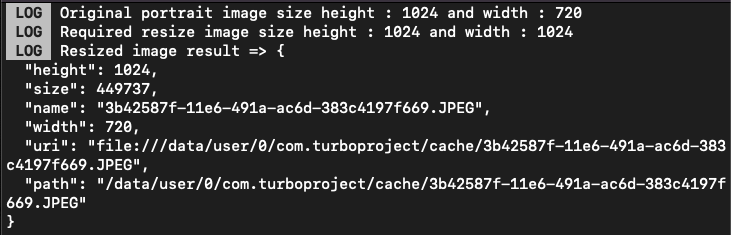
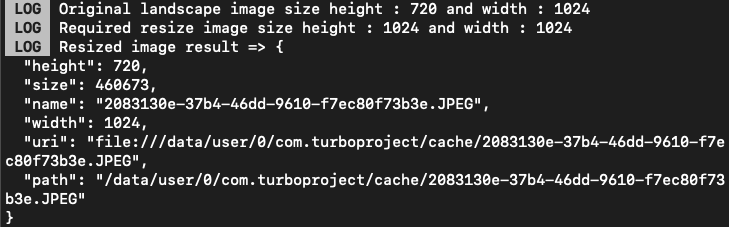
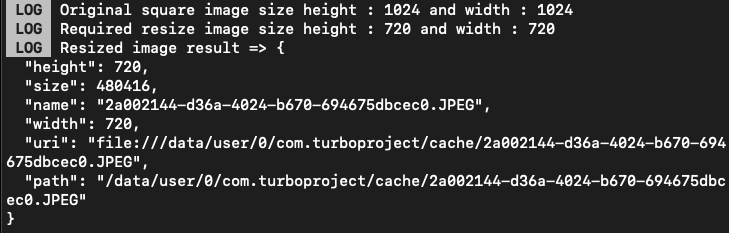
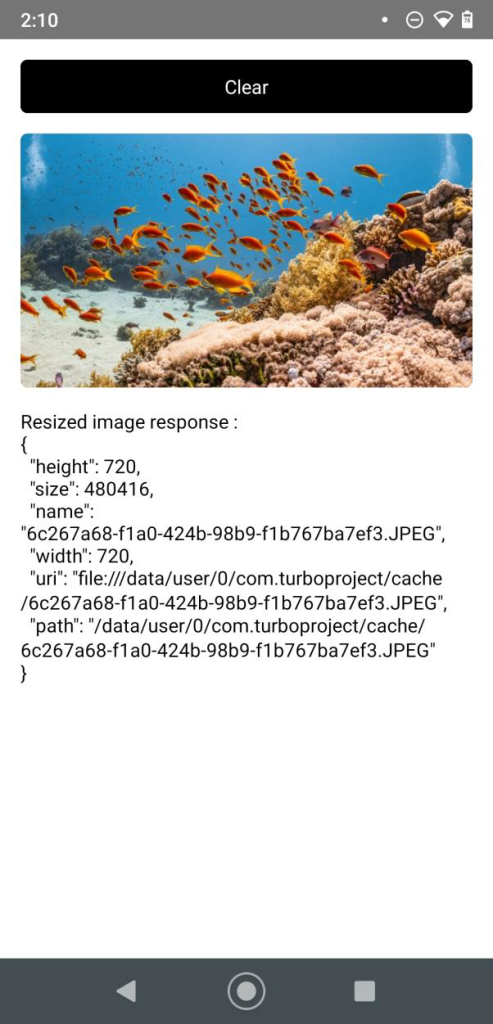
- The resized image will have portrait dimensions if the original image size is portrait. Similarly, if the original image size is landscape, it will produce a landscape image, and if it is square, it will produce a square image.
How to Create a Turbo Native Module
- Define the JavaScript specification.
- Configure the module so that Codegen can generate the scaffolding.
- Write the native code to finish implementing the module.
Folder Setup:
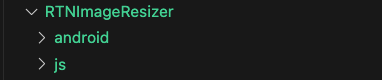
- Create a folder called RTNImageResizer at the root level of your app. RTN stands for “React Native” and is a recommended prefix for React Native modules.
- Within RTNImageResizer folder, Create two subfolders name js and android.
JavaScript Specification:
There are two requirements the file containing this specification must meet:
- The file must be named Native<MODULE_NAME>, with a .js or .jsx extension when using Flow, or a .ts, or .tsx extension when using TypeScript. Codegen will only look for files matching this pattern.
- The file must export a TurboModuleRegistrySpec object.
Create a types.ts to define the types of ImageResizer and create a ImageResizer.ts at RTNImageResizer/js.

NativeImageResizer.ts at the beginning of the spec files, the imports are listed.
- The TurboModule type, which defines the base interface for all Turbo Native Modules
- The TurboModuleRegistry JavaScript module, which contains functions for loading Turbo Native Modules.
- The file contains the interface specification for the Turbo Native Module. In this case, interface define createResizedImage function taken few parameters and return promise of resize image response. interface type must be named Spec for a Turbo Native Module.
- Finally, we invoke TurboModuleRegistry.get, passing the module’s name, which will load the Turbo Native Module if it’s available.
Module Configuration:
Create the package.json file in the root of the RTNImageResizer directory. package.json
The Codegen configuration is specified by the codegenConfig field. It contains below fields:
- name: The name of the library. By convention, you should add the Spec suffix.
- type: The type of module contained by this package. In this case, it is a Turbo Native Module; thus, the value to use is modules.
- jsSrcsDir: The relative path to access the js specification that is parsed by Codegen.
- android.javaPackageName:The package to use in the Java files generated by Codegen.
Create a build.gradle file in the RTNImageResizer/android folder. build.gradle
The ReactPackage class
- Create an RTNImageResizer/android/src/main/java/com/rtnimageresizer folder and, inside that folder, create a ImageResizerPackage.java file.
- You need a class that extends the TurboReactPackage interface. To run the Codegen process.
- The package class doesn’t need to be completely implemented; an empty implementation is sufficient for the application To identify the module as a proper React Native dependency and to generate the scaffolding code.
- In order to understand the native classes required for the ViewManager and Native Modules exported by the library, React Native utilizes the ReactPackage interface.
Native Code:
The final step in preparing your Turbo Native Module is to create native code to connect the JavaScript side to the native platforms. There are two primary steps needed for this process:
- Run Codegen to see what it generates.
- Write your native code, implementing the generated interfaces.
Codegen is used by the app to generate the code when developing a React Native app that uses a Turbo Native Module.
When building a TurboModule library, it’s necessary to refer to the generated code, so it’s beneficial to see what the app will produce.
In order for it to work, we have to generate code for Android and then write some native code.
Generate the Code – Android
To generate the code for Android, Open terminal and open root of the app path and run the command
- yarn add ./RTNImageResizer or npm install ./RTNImageResizer
Note: To run Codegen, you need to enable the New Architecture in the Android app. This can be done by opening the gradle.properties files and by switching the newArchEnabled property from false to true.
Now open your app root android folder in android studio and open its terminal and run the command
- ./gradlew generateCodegenArtifactsFromSchema
The generated code is stored in the TurboModuleSample/node_modules/rtn-imageresizer/android/build/generated/source/codegen folder and it has this structure:
Write the Native Android Code
The native code for the Android side of a Turbo Native Module requires:
- To create a ImageResizerModule.java that implements the module.
- To update the ImageResizerPackage.java created in the previous step. It defines the TurboReactPackage object that will be used by the app to load the module.
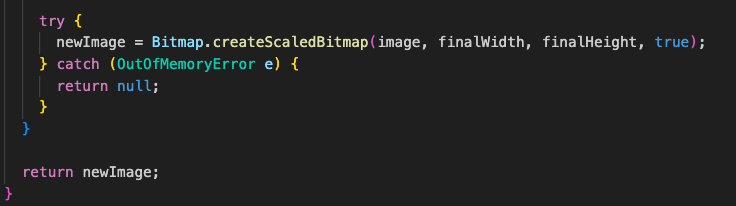
- Now, let’s create the ImageResizer.java file as helper that define resizeImage() to resize the image using Bitmap.
- To add the Turbo Module to your app, go to the root of the project and re-run below command.
- yarn add ./RTNImageResizer or npm install ./RTNImageResizer
Let’s use RTNImageResizer module in our app
- createResizedImage function takes object to resize the image.
- uri: string, accepts react-native-vision-camera, @react-native-camera-roll/camera-roll etc output `path` or https `uri`.
- width: number, Width to resize
- height: number, Height to resize
- format: ‘PNG’ | ‘JPEG’ | ‘WEBP’, Can be either JPEG, PNG or WEBP (android only).
- quality: number, A number between 0 and 100. Used for the JPEG compression.
- rotation: number, Rotation to apply to the image, in degrees, for android. On iOS, rotation is limited (and rounded) to multiples of 90 degrees.
- outputPath?: string, The resized image path. If null, resized image will be stored in cache folder. To set outputPath make sure to add option for rotation too (if no rotation is needed, just set it to 0).
- keepMeta: boolean, if true, will attempt to preserve all file metadata/exif info, except the orientation value since the resizing also does rotation correction to the original image. Defaults to false, which means all metadata is lost. Note: This can only be true for JPEG images which are loaded from the file system (not Web).
- options?: {
mode: ‘contain’ | ‘cover’ | ‘stretch’;
onlyScaleDown?: boolean
}
- mode: Similar to react-native Image’s resizeMode: either contain (the default), cover, or stretch. contain will fit the image within width and height, preserving its ratio. cover preserves the aspect ratio and makes sure the image is at least width wide or height tall. stretch will resize the image to exactly width and height.x
- onlyScaleDown: If true, will never enlarge the image, and will only make it smaller.
Portrait image:
Landscape Image:
Square Image:

Learn More:
Turbo Native Module: Turbo Native Module Link