In the latest virtual age, powerful conversation is key to constructing and keeping relationships with your audience. Whether you are a blogger, entrepreneur, or small enterprise owner, staying linked with your subscribers is essential for fulfillment.
This is where Mail Blaze comes into play, providing a seamless integration with WordPress to streamline your e mail advertising efforts. Let’s delve into the sector of Mail Blaze and find out how it may revolutionize your e-mail campaigns.
What is Mail Blaze?
Mail Blaze is a progressive email marketing platform designed to simplify the process of making, sending, and coping with electronic mail campaigns. With its person-friendly interface and powerful capabilities,
Some of the good features of Mail-Blaze are :
- Seamless Integration with WordPress
- Feature-Rich Email Campaigns
- Personalized Email Marketing
- Powerful Analytics and Reporting
- Structure and Organization
Here’s the setup guidance so you can install MailBlaze in your WordPress project.
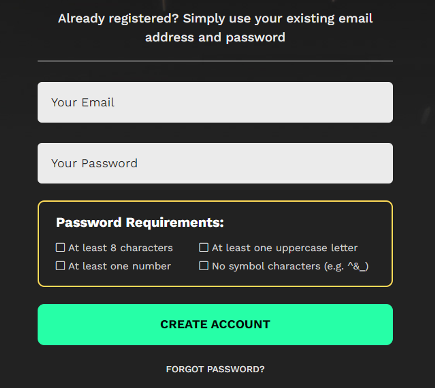
Step 1: Sign Up for Mail Blaze
If you haven’t already, sign up for an account with Mail Blaze on their website. You’ll need to provide some basic information and set up your account.
Step 2: Install the Plugin
- Log in to your WordPress dashboard.
- Navigate to the “Plugins” menu and click on “Add New.”
- You can upload a plugin if you have downloaded it from https://www.mailblaze.com/ source.
- Once you find the plugin, click on the “Install Now” button.
Step 3: Activate the Plugin
After the installation is complete, click on the “Activate” button to activate the plugin.
Step 4: Connect Mail Blaze with WordPress
After activating the plugin, you’ll typically need to connect your Mail Blaze account with your WordPress website. This usually involves entering your Mail Blaze API key or other authentication credentials.
- Look for the plugin settings in your WordPress dashboard. This is usually found under “Settings” or as a separate menu item for the specific plugin
- Locate the option to connect your email marketing service. This might be labeled as “Connect,” “API Key,” or something similar.
- Then enter your Mail Blaze API key or other required information.

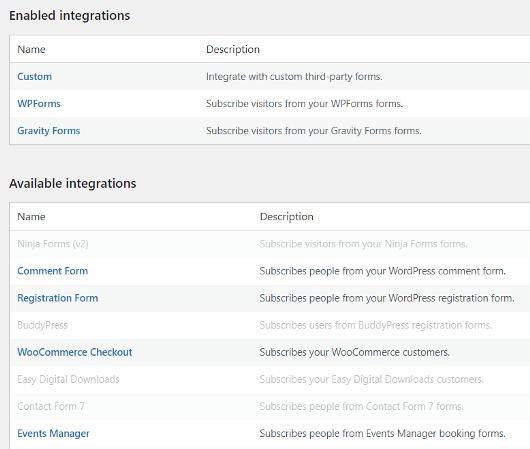
Step 5: Customize Settings
Once connected, you can customize various settings within the plugin to match your preferences. This may include options for email subscription forms, automated emails, integration with other plugins, etc.
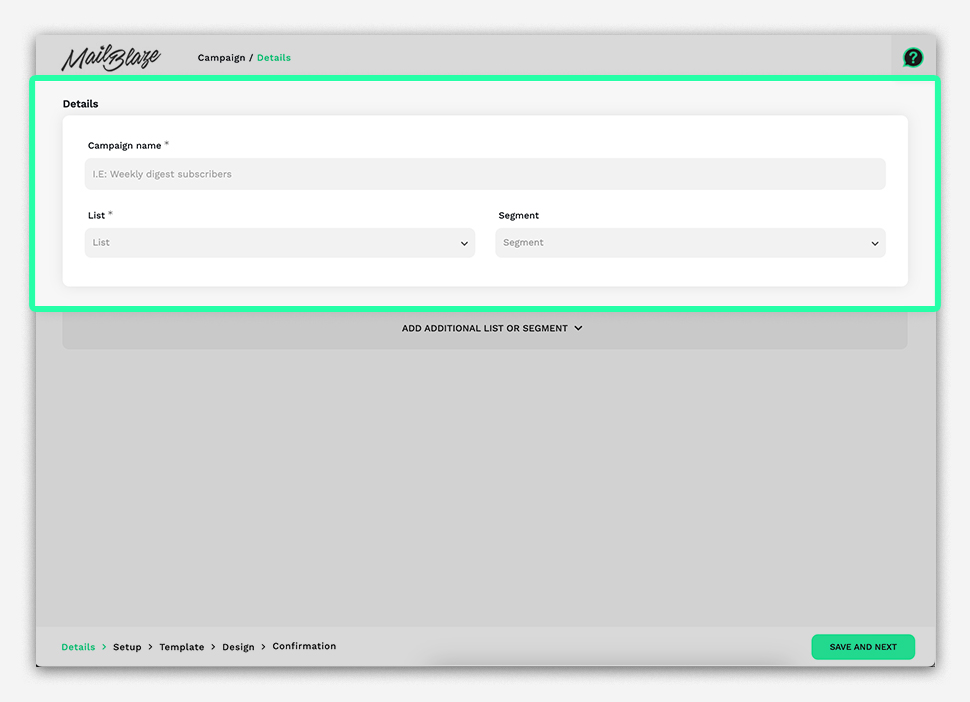
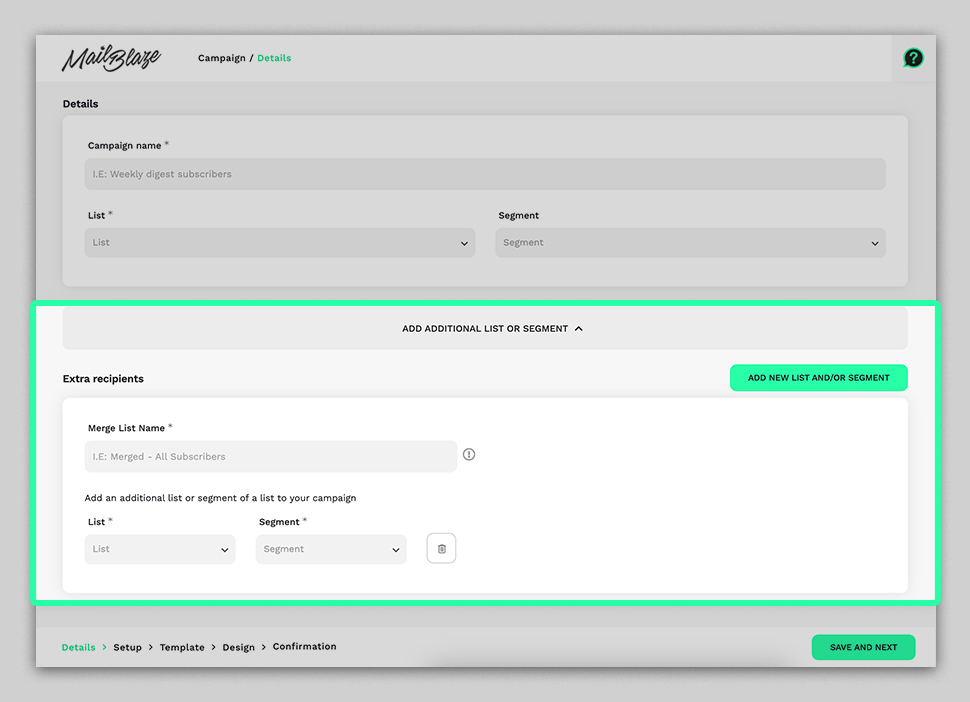
Step 6: Create Email Campaigns
With the plugin set up, you can now start creating email campaigns directly from your WordPress dashboard. This typically involves composing your emails, selecting your recipient list, and scheduling or sending the emails.

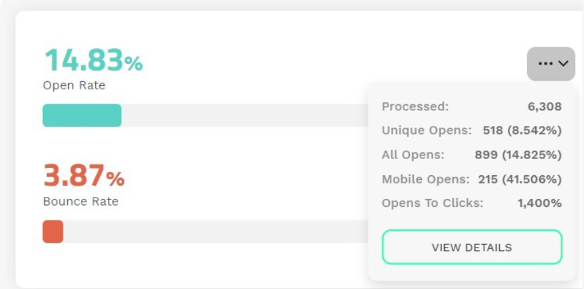
Step 7: Monitor Performance
You can track metrics like open rates, click-through rates, subscriber growth, etc., directly within your WordPress dashboard.
By seamlessly integrating Mail Blaze with WordPress, you’re not simply delivering emails; you’re also cultivating connections, generating engagement, and, ultimately, creating memorable experiences for your target audience. Start optimizing your reach and effect today with Mail Blaze, WordPress’ ultimate email solution.